
UPDATE 10/21. It appears that Cucumber WiFi (CT WiFi, etc.) was officially shut down September 3, 2021. I believe that leaves the only way to flash with Serial.
I recently picked up 11 Meraki MR16’s off of eBay for a good price. I decided to buy these because I knew that they would be reliable access points for the price.
Things you will need:
- A computer (mine is running Windows)
- A couple of ethernet cables
- A Meraki MR16 Access Point
- Something to push the reset button of the MR16 (i.e. a paperclip)
- A TFTP server, in my case pumpkin
- Cucumber firmware
- OpenWRT Sysupgrade File Link (look for files starting with MR16)
- Putty (or other SSH client)
Because you can not flash OpenWRT directly from the MR16 with the TFTP server, we will use Cucumber WiFi as an intermediary between the two, as it can be flashed simply.
Registering for a Cucumber Account
First, sign up for an account here.

Adding Device and Downloading Firmware

Then you want to log in to your dashboard. You will be asked to create a site and add a device. Once you’ve created your site, navigate to its page, and select “Devices” in the left-hand menu.
Once you are on the Devices page, you will then click the plus sign in the upper-right corner. It will ask you to either discover your device or to manually add it via its mac address. Select the mac address option.
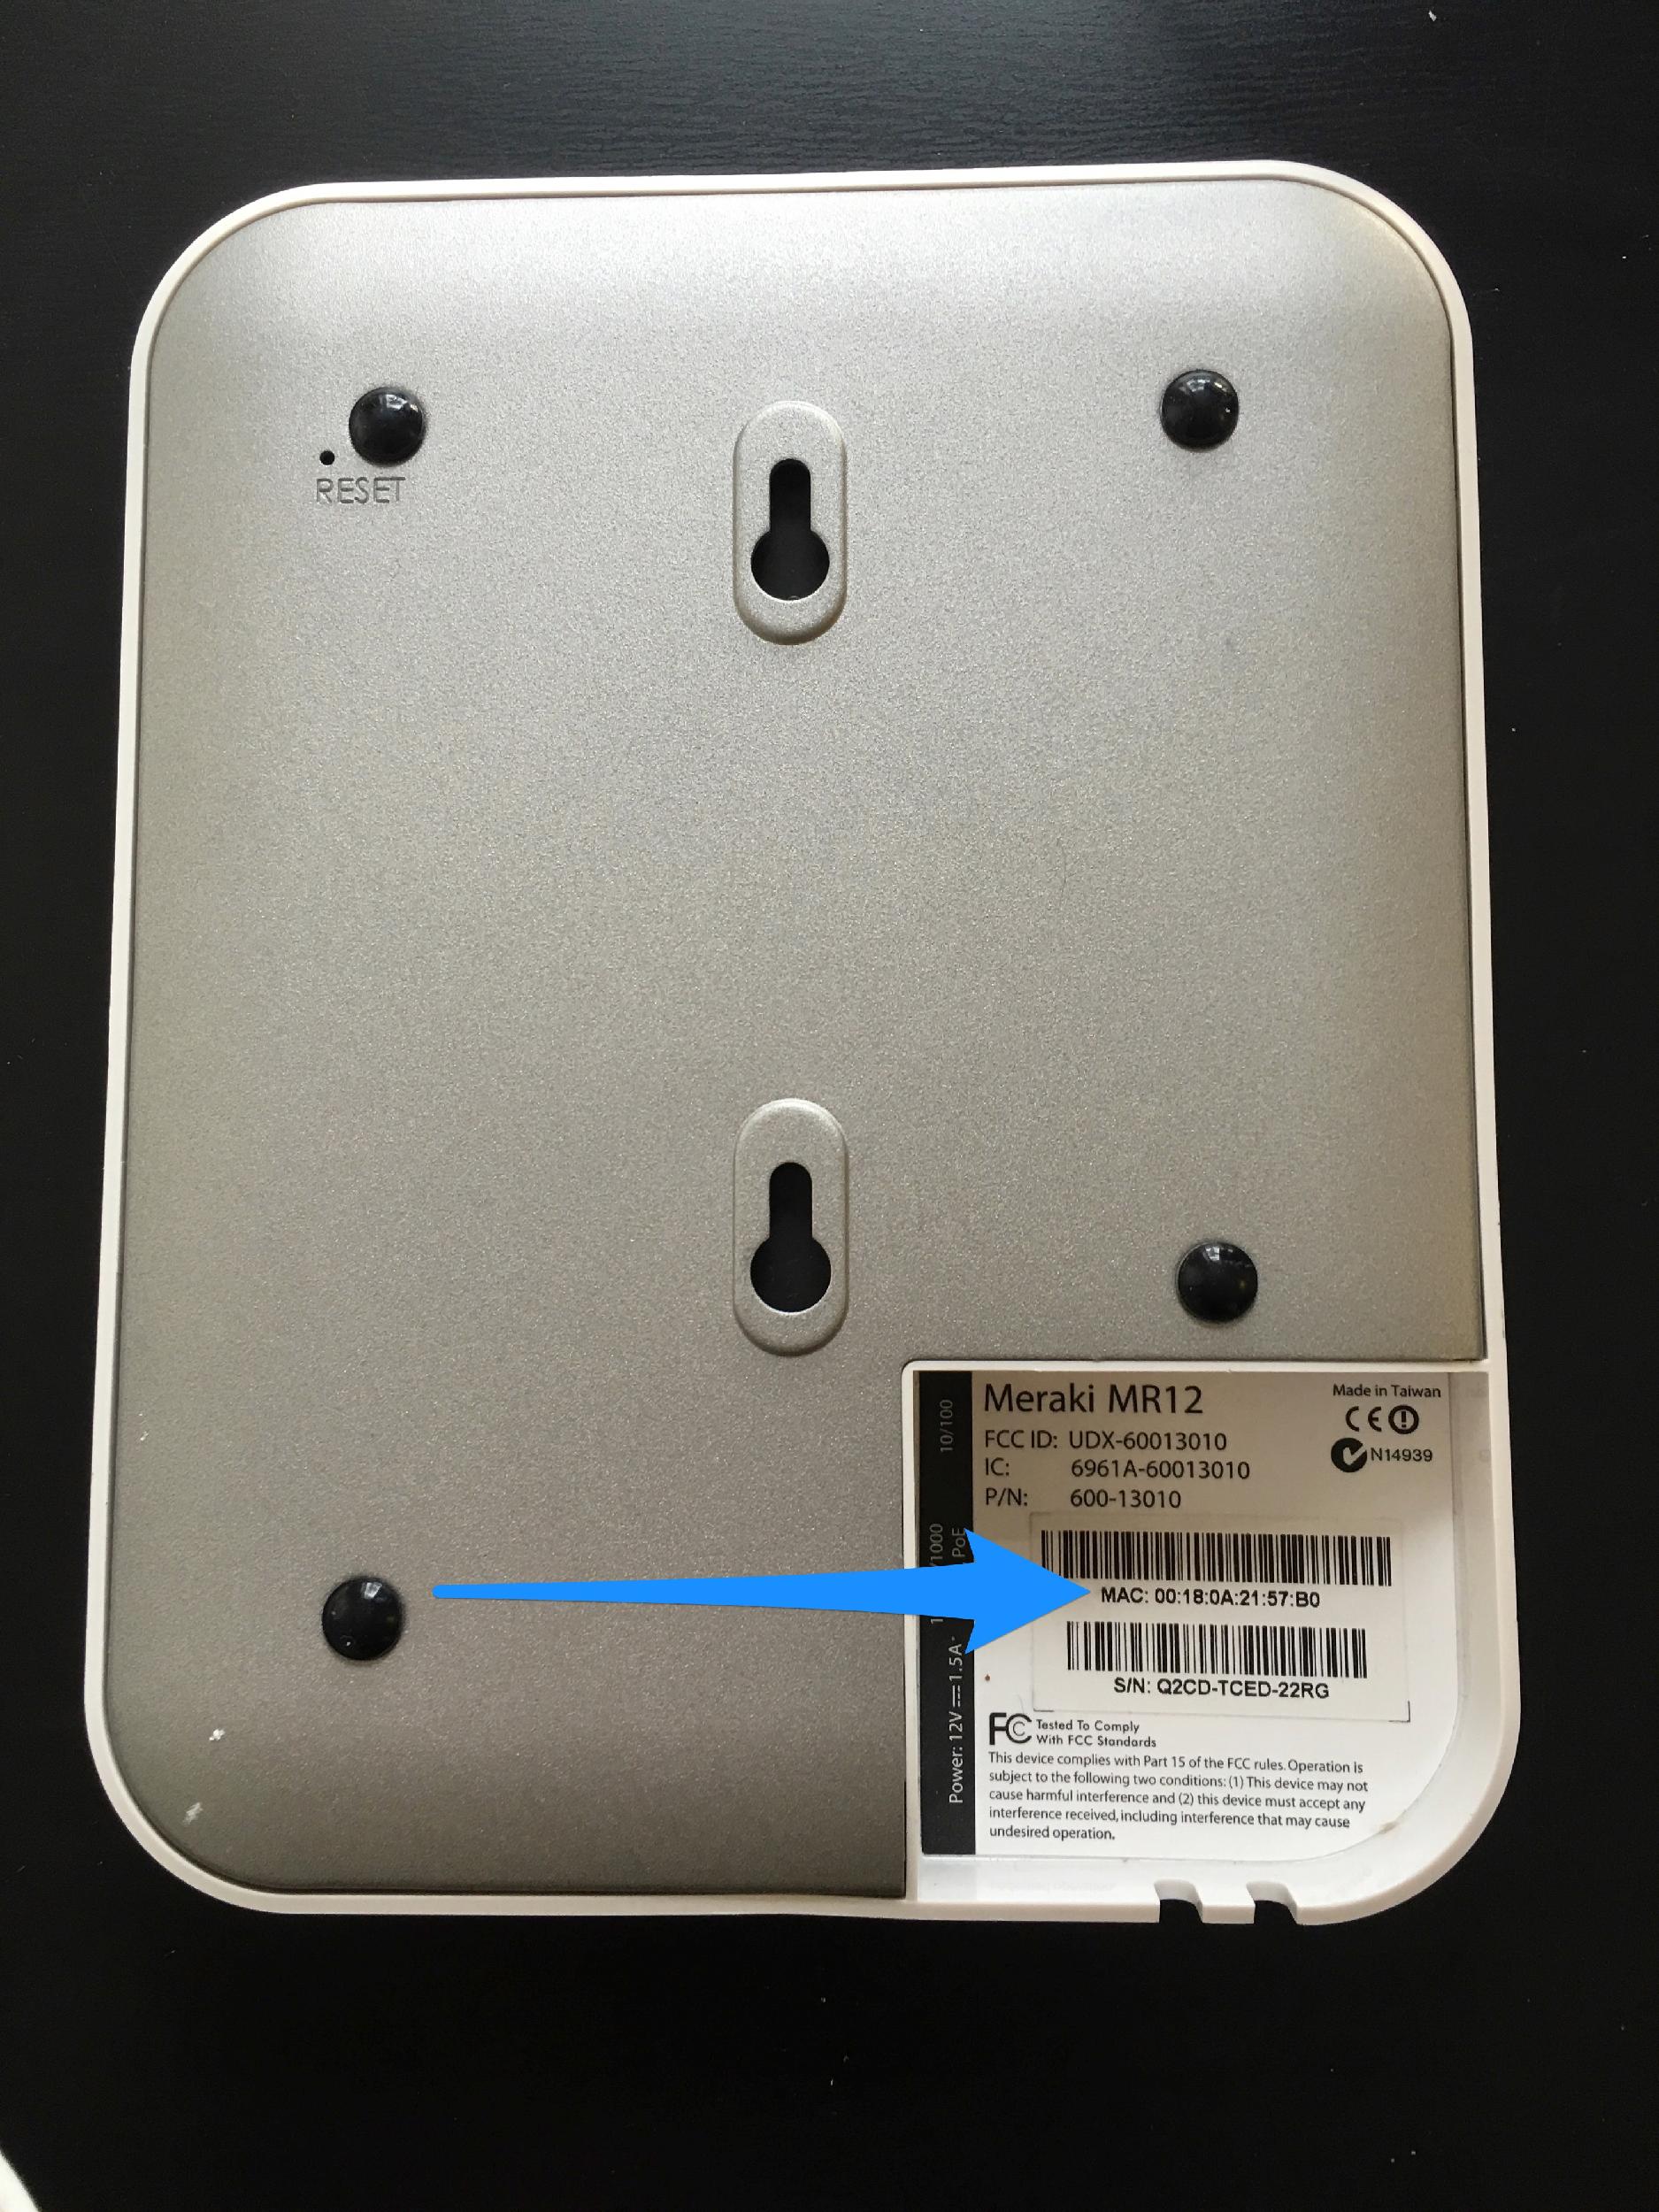
When prompted to enter the mac address, you will enter the mac address found on the back of your MR16 access point, right above its serial number. You will enter it in the format of xx:xx:xx:xx:xx. Enter a device description to help find it later.
Now to download the Cucumber firmware. To download it, select your profile icon in the upper-right corner of the Cucumber WiFi dashboard, and select downloads. In the downloads list, choose Meraki MR16 and download the file. When downloaded, rename the file to “vmlinux.gz.uImage“. The name is case-sensitive and there must not be a trailing .bin at the end of the name.
Setting Up the TFTP Server
The first step to setting up the server is setting a static ip-address on your wired interface.
- IP – 192.168.1.101
- Subnet Mask – 255.255.255.0

From here, launch the pumpkin TFTP server. When it is launched, select the “Network” tab and input 192.168.1.101 in the ip-address field. Go back to the “Server” tab and for the “TFTP Filesystem Root” specify the location of the vmlinux.gz.uImage file.
Flashing the Cucumber Image
Connect an ethernet cable between your computer on the wired interface you set a static ip and the Meraki AP. Grab a paperclip and press and hold the reset button. Then connect power to the AP. While still holding the reset button, you should see the file being transferred in pumpkin, and after the file is transferred keep holding down the reset button until all the lights on the front of the AP start flashing, then you can let go. It will take approximately 5 minutes to flash, and if the device is still flashing after ~10 minutes, reboot and try again. After the AP reboots, connect the ethernet cable on the AP to an internet source. Also, connect your computer back to the internet.
Setting the MAC Address of the AP
By default, the MAC address of Meraki access points are not recognized by WRT-based operating systems. When the AP is fully booted and has an ip-address, navigate to its ip. If you do not know the location of the AP check the DHCP leases in your router. You will reach a login page. The username is cucumber and the password is stinky. Then navigate to http://ip-address/cgi-bin/meraki.html, substituting the IP of the AP in. You will be prompted to enter the MAC address of the AP. Note: Here the format is xx-xx-xx-xx-xx with hyphens. Save the changes and the AP will reboot.
SSHing into the AP
After the device reboots after setting the MAC address, it should appear in the Cucumber dashboard. Navigate to the device’s page in Cucumber expand the Network Details menu, and copy the SSH password. Open your SSH client and login to the AP with the username root and the password that you copied earlier. You will be prompted to connect to the host, select yes. You will be greeted with a Cucumber terminal.

Flashing OpenWRT
Copy the sysupgrade URL from earlier, and remove the (s) from https. Now, go back to the SSH terminal and type in the following commands. The wget command copies the file to the flash. When issueing the sysupgrade command, do not use the url.
- cd /tmp
- wget url-of-file
- sysupgrade -v filename
The device should start flashing OpenWRT.
Getting Ready for OpenWRT
After the device reboots after issuing the sysupgrade command and the power light is a solid green, you will need to hold down the reset button on the AP until the power button starts flashing. The device will reboot.
Navigating to OpenWRT
Once the device reboots, it will act as a DHCP server. If you connect your computer to the AP’s ethernet cable it will obtain an IP address. OpenWRT will then be reachable at http://192.168.1.1
Congratulations, OpenWRT should now be on your Meraki MR16!